
As homeowners seek sustainable and cost-effective energy solutions, residential solar panel system installation has become increasingly popular. This guide provides an overview of the essential steps involved in installing solar panels, helping you understand the process and benefits of making the switch to solar energy.
Understanding Solar Panel Systems
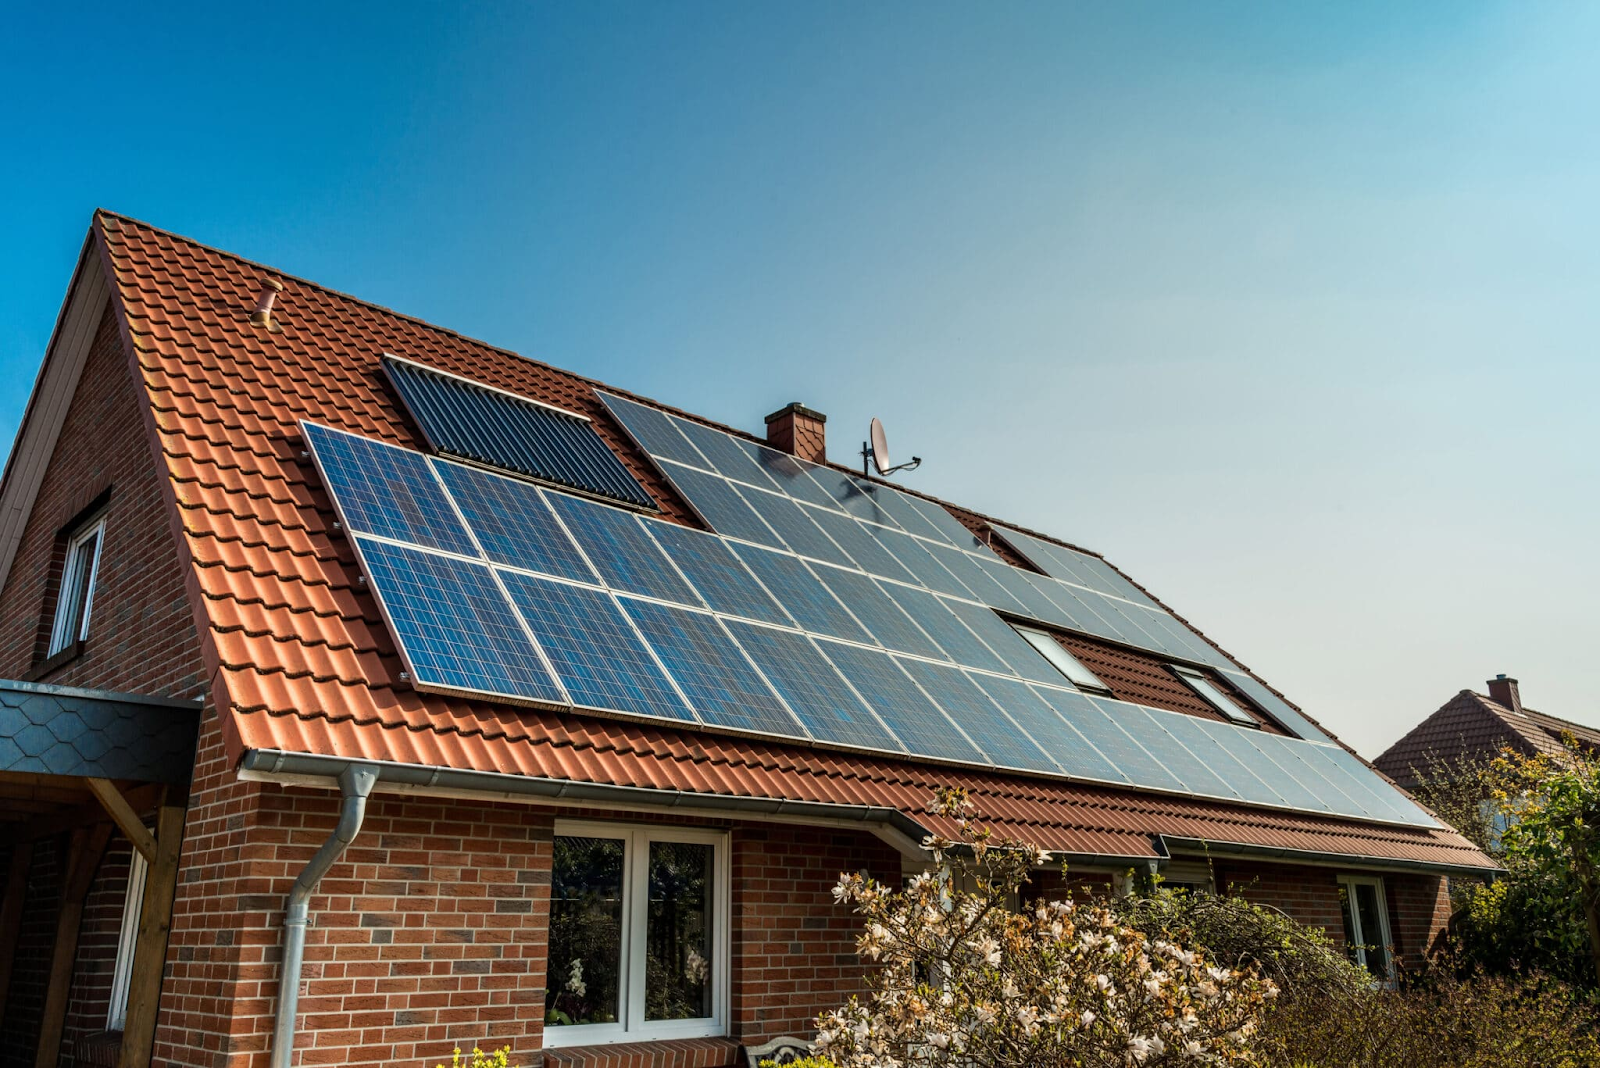
A residential solar panel system consists of photovoltaic (PV) panels that convert sunlight into electricity. These systems can significantly reduce your energy bills and decrease your carbon footprint. Additionally, many states offer incentives and rebates to encourage solar adoption, making it a financially savvy choice for homeowners.
Step 1: Assess Your Energy Needs
Before diving into residential solar panel system installation, it’s crucial to assess your energy needs. Review your electricity bills from the past year to determine your average usage. This information will help you size your solar panel system accurately. A solar energy consultant can assist in analyzing your consumption patterns and determining the optimal system size for your home.
Step 2: Evaluate Your Home’s Solar Potential
Next, evaluate your home’s solar potential. Factors such as roof orientation, shading, and roof condition significantly impact the efficiency of your solar panels. Ideally, your roof should face south or west and have minimal shading from trees or neighboring buildings. If your roof needs repairs or replacement, it’s advisable to address these issues before installation.
Step 3: Research Solar Panel Options
There are various types of solar panels available on the market, each with its unique features and benefits. The two most common types are:
- Monocrystalline Solar Panels: Known for their high efficiency and longevity, these panels are made from single-crystal silicon. They tend to perform better in low-light conditions and require less space.
- Polycrystalline Solar Panels: These panels are made from multiple silicon crystals and are generally less expensive. While they are slightly less efficient than monocrystalline panels, they are a popular choice for those on a budget.
Consider your energy goals, budget, and available roof space when selecting the right panels for your residential solar panel system installation.
Step 4: Choose a Reliable Installer
Choosing a reputable installer is critical to ensuring the success of your solar project. Look for certified professionals with experience in residential solar panel system installation. Check reviews, ask for references, and ensure they have the necessary licenses and insurance. A qualified installer will conduct a thorough site assessment, provide detailed proposals, and guide you through the entire process.
Step 5: Obtain Permits and Approvals
Before installation can begin, you’ll need to secure the necessary permits and approvals. Most municipalities require building permits for solar panel installations, and your installer should assist you in navigating this process. This step ensures that your system meets local building codes and regulations.
Step 6: Installation Process
The installation of a residential solar panel system typically involves several key steps:
- Mounting the Panels: Installers will securely mount the solar panels on your roof or in a designated ground area. Proper positioning is essential to maximize sunlight exposure.
- Wiring and Connections: After mounting, the installers will connect the panels to an inverter, which converts the generated DC electricity into usable AC electricity for your home.
- Connecting to the Grid: If you’re planning to stay connected to the grid, your installer will set up the necessary connections. This allows you to draw power from the grid when needed and feed excess power back into it.
Step 7: Inspection and Approval
After installation, a final inspection is often required to ensure that everything is up to code. Local authorities will review the installation to confirm compliance with safety and building regulations. Once approved, your system can go live, allowing you to start harnessing solar energy.
Step 8: Monitoring and Maintenance
Once your residential solar panel system is operational, monitoring its performance is essential. Many systems come with monitoring tools that allow you to track energy production and consumption. Regular maintenance is also crucial, although solar panels typically require minimal upkeep. Periodically cleaning the panels and ensuring there are no obstructions will help maintain optimal efficiency.
Benefits of Solar Energy
Investing in residential solar panel system installation offers numerous benefits:
- Cost Savings: Solar energy can significantly reduce your electricity bills, and with various financing options, you can find a plan that suits your budget.
- Environmental Impact: By using renewable energy, you contribute to reducing greenhouse gas emissions and reliance on fossil fuels.
- Energy Independence: Generating your own electricity provides greater energy security and reduces vulnerability to utility price fluctuations.
Conclusion
Harnessing the sun through residential solar panel system installation is a transformative step towards energy independence and sustainability. By understanding the installation process and benefits, you can make informed decisions that will benefit both your wallet and the environment for years to come. Whether you’re motivated by savings, environmental impact, or energy security, solar energy is a wise investment for homeowners looking to the future.